
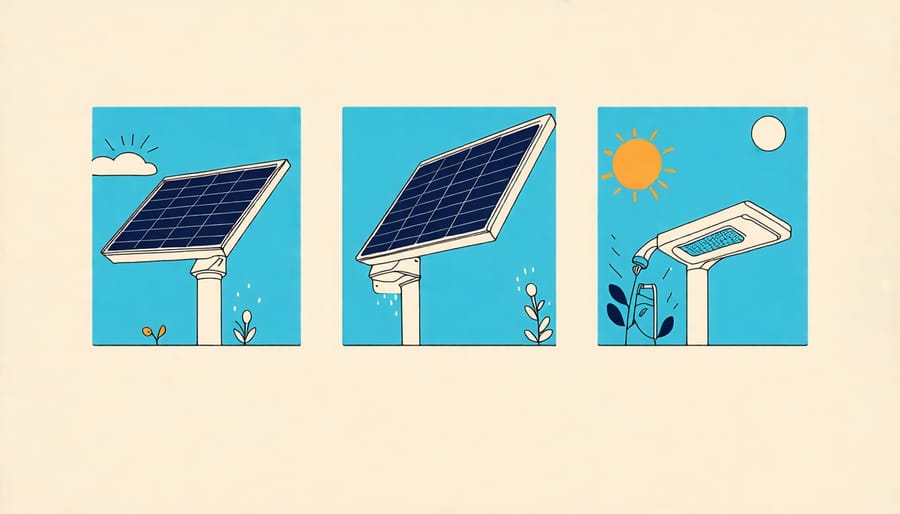
Clean solar lights regularly with a soft brush or cloth to remove dirt and debris buildup that can block the solar panels and reduce charging efficiency. Mix a solution of mild dish soap and warm water, then use a sponge to gently wash the solar panels, light covers, and housing. For stubborn grime, let the soapy solution sit for a few minutes before wiping clean. If your solar lights are not working properly after cleaning, follow these troubleshooting steps to restore their performance.
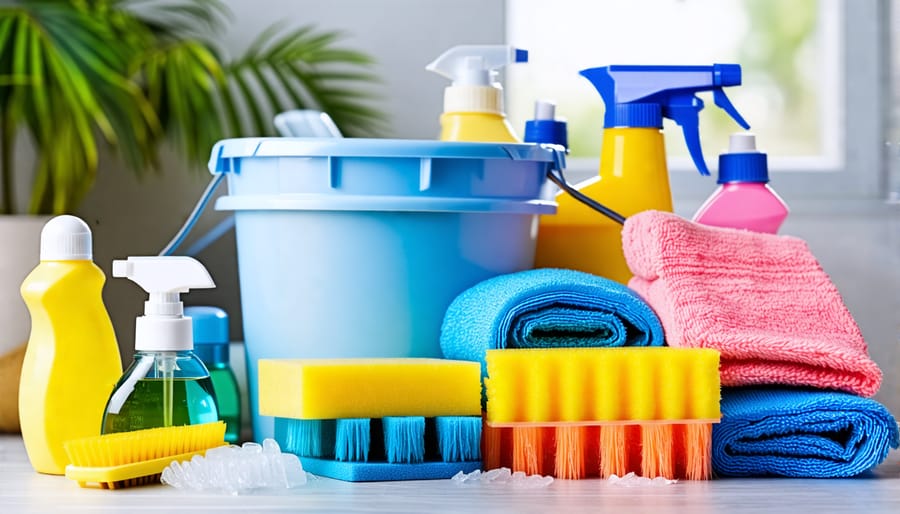
Supplies You’ll Need
To clean your solar lights, you’ll need a few basic supplies. Gather a bucket filled with warm water and mild dish soap or a gentle all-purpose cleaner. Avoid using harsh chemicals that could damage the solar panel or plastic components. You’ll also need some soft, lint-free cloths or sponges for wiping down the surfaces. A soft-bristle brush, such as an old toothbrush, can be handy for removing stubborn dirt or debris from crevices. Having a garden hose nearby is useful for rinsing the lights after cleaning. With these simple tools, you’ll be well-equipped to tackle the cleaning process and restore your solar lights to their original shine.
Step-by-Step Cleaning Process
Step 1: Remove and Disassemble
To begin the cleaning process, carefully remove your solar lights from their installed locations, such as the ground, fence, or wall mounts. Be gentle to avoid damaging the lights or their components. Once removed, disassemble each light by following the manufacturer’s instructions, which usually involve unscrewing the top cover or lens from the base. Some models may have additional parts like a glass or plastic shade that also needs to be detached. Keep track of all the small components, such as screws or rubber seals, to ensure easy reassembly later. If the solar panel is separate from the LED light, disconnect it cautiously to prevent harm to the wiring. With the solar lights now disassembled, you can proceed to clean each part thoroughly, restoring their efficiency and extending their lifespan.
Step 2: Clean the Solar Panel
To clean the solar panel, use a soft, damp cloth or sponge to gently wipe away any dirt, dust, or debris that can obstruct sunlight and reduce the panel’s efficiency. Avoid using abrasive materials or harsh cleaning agents, as these can scratch or damage the panel’s surface. For stubborn stains or heavy buildup, mix a mild soap with water and use this solution to clean the panel. Be sure to rinse the panel thoroughly with clean water to remove any soap residue. If the solar lights are located in an area with hard water, consider using distilled water for cleaning to prevent mineral deposits from accumulating on the panel. Regularly cleaning the solar panel, especially after storms or periods of high pollen count, will ensure that your solar lights receive the maximum amount of sunlight for optimal performance.
Step 3: Clean the Light Fixture
Now that the solar panel is clean, it’s time to focus on the light fixture itself. Fill a bucket with warm, soapy water using a mild dish soap. Dip a soft cloth or sponge into the solution and gently wipe down the entire surface of the light fixture, paying special attention to the lens. If the lens is particularly grimy, you may need to use a soft-bristled brush to remove any stubborn dirt or debris. Be sure to clean both the inside and outside of the lens for optimal light transmission. Rinse the light fixture thoroughly with clean water to remove any remaining soap residue. Use a soft, lint-free cloth to dry the fixture completely before reassembling the solar light. By taking the time to carefully clean the light fixture, you’ll ensure that your solar lights shine brightly and efficiently, making the most of the sun’s energy.
Step 4: Dry and Reassemble
Once you have cleaned all the components of your solar lights, it is crucial to allow them to dry completely before reassembling them. Moisture can cause corrosion and damage to the delicate electronic components, reducing the lifespan and performance of your solar lights. Place the parts on a clean, dry towel or paper towel, and allow them to air dry for at least an hour or until no visible moisture remains. If you are in a hurry, you can use a soft, lint-free cloth to gently pat the components dry, but be careful not to damage any sensitive parts. When everything is thoroughly dry, carefully reassemble your solar lights, ensuring that all connections are secure and that the seals are properly in place to prevent future water damage. By taking the time to dry your solar lights completely before reassembling them, you can help ensure their optimal performance and longevity.
Tips for Maintaining Solar Lights
To keep your solar lights shining brightly, incorporate regular maintenance into your routine. In addition to cleaning the panels and covers, take a moment to inspect the lights for any signs of damage or wear. Replace broken or cracked parts promptly to prevent further issues. When the colder months arrive, consider storing your solar lights indoors to protect them from harsh weather conditions and extend their lifespan. Keep an eye on the performance of your lights, as rechargeable batteries may need replacing every 1-2 years to maintain optimal function. By staying proactive with maintenance, you can enjoy the beauty and convenience of your solar lights for many seasons to come.
Conclusion
Regularly cleaning your solar lights is essential for maintaining their performance and extending their lifespan. By following the simple steps outlined in this guide, you can ensure that your solar lights continue to provide reliable illumination for your outdoor spaces. Remember to clean the solar panel, light fixture, and battery compartment, and to check for any damage or worn-out parts. With proper care and maintenance, your solar lights will continue to harness the power of the sun and add a beautiful, eco-friendly glow to your surroundings for years to come. So, make solar light cleaning a part of your regular outdoor maintenance routine and enjoy the benefits of these sustainable lighting solutions.